So, I finally was able to squeeze in a quick soap-making adventure. Of course, I love this hobby/craft, but its on the bottom of the priority list. Make it happen, right?
Since, I was short on time, and tired...I made a small batch that I knew would trace and cook fast...and it did.
Ingredients: Vegetable shortening, coconut oil, beeswax, lye, distilled water, honey.
Here's a picture of all the stuff you need:
(this picture was taken prior to starting the Castile Soap, but still gives you the idea)
*Your oils for your recipe
*Distilled water. This is debated among soapmakers. However, the more experience you get, the more you will realize how the difference in water can make your soap. If you can collect fresh rainwater, this is great for your soap. I like to use the purist I can get, which is distilled for me. I would think the lye would kill all the buggies and germies anyways, but I haven't researched it enough to know....so spend the $0.83 at WalMart and get a gallon of distilled. :)
*crock pot - size will determine how many pounds you are making. I have a large one and a small one :)
*silicone scraper
* glass or plastic measuring bowls/cups
*a seperate designated measuring cup for lye (mine is marked with black marker) and a designated measuring and mixing pitcher for the water (remember your lye will be mixing in this, so glass or dishwasher safe plastic only)
*an accurate scale
*100% lye
*a mold to put your soap in. I use an ice bin that is dishwasher safe, but even plastic storage containers could work or shoe boxes. I would advise with CPHP to oil the mold. Some people use mineral oil because it can't be saponified, but personally I use coconut oil. If using wood or shoe boxes, parchment or freezer paper will work just fine to line the mold.
*measuring spoons
*thermometer
*lye safety materials: apple cider vinegar to neutralize a spill, gloves, and goggles
*wooden spoon(s)
*stick blender (optional, but makes life much easier in soapmaking!)
First, caution about Lye. It is caustic and you will find horror stories regarding people messing with it. Always, always, always, treat it with respect. I do not mix lye around my children or have it within reach. When I'm not using it, it is stored, locked away from reach. This container has a child-safety type cap on it. Lye can be hard to find locally, most people have to order from the internet and before having it shipped to you, you have to fill out a special form, usually. Fortunately, I can get mine locally from Lowe's in the drain cleaning section. IT MUST SAY 100% LYE. Do NOT use Draino for soapmaking, it has other metals in it, and you're asking for trouble. I can usually get 2 lbs. for around $14.00. I know it's cheaper on the internet but 1) shipping is expensive, so it adds to the same price anyways 2) I don't have to wait for a shipment when I buy locally 3) I don't have to fill out a form. Always, pour the lye into your liquid, NEVER the other way around. If you do, you will be sorry with a dangerous mess on your hands. So just remember that, and don't test that one out! :) Here's a picture (and use a glass or plastic container to mix you lye solution, not aluminum...I also use a wooden spoon)

Wear rubber gloves and some old clothes. These gloves would be covering my arms (better yet, wear long sleeves) but I'm allergic to latex and it makes me itch like crazy, and these are latex gloves.....I know, get some non-latex gloves! haha....I normally mix my solution while its in an ice bath, but I forgot to get the bath ready with this one. Here's a picture of what I'm talking about.
Lye heats up to about 200 degrees F. You can see in this picture how hot it is, see the steam in the container? Also, lye lets off some nasty fumes, so keep your face away while mixing and even during the whole process. I use my vent over my stove to get rid of the fumes. You do NOT want to inhale these! Oh, and another note, wear safety goggles while messing with lye too! You will get splatters!
While the lye is chillin, start weighing and melting your hard oils. Must have an accurate scale. I mostly measure in ounces. My dear husband recently got me a baker's scale, that is digital (awesome!), tares (double awesome!), and measures in %, Gm, ounces and pounds. With soapmaking, everything must be weighed accurately.
Most people would melt the vegetable shortening first, then add the lye solution, bring to trace, then add the melted coconut oil and beeswax. Well, I'm not most people...you see the beeswax, but it was going to take too long, so I took it out and used my designated beeswax container and melted it in the microwave, so much faster! Then added it to the other oils once they melted. Beeswax will make your soap trace really fast!
Melted oils together:
Now I have my crockpot (smaller one, since this is a small batch) in the sink and I gave it a few stirs to finish melting the rest of the oils. I put it in the sink, in case I have a spillage. If you are able to plug it in and cook your soap in the sink like this, that would be good because occassionally, soap will volcano while cooking, and this is no fun to clean up because the lye is still caustic.
Pouring lye solution:
slowly! You could swirl your stick blender around (not mix yet!) to incooraporate it, but I chose the wooden spoon. Once all your lye solution is in, you can safely start mixing. I put the empty container in the adjacent sink next to me and run cold water in it.
See how quickly it changed color and started getting thick?
Next lets whip with our stick blender!
I whipped very, very shortly and was already at thick trace. Trace is when you can lift your mixer out of the solution and the drippings "trace" the top before settling back in its solution. Like pudding. Different oils will cause different tracings. Some oils will only trace very lightly and not come to a thick trace like this. Only experience will make you better aware of whats going on.
Put the crock on low and cook:
See the sides? This is only 10 minutes into the cook. It will bubble up the sides and turn over on itself. I check on mine about every 15 minutes, sometimes I stir, sometimes I don't, depends on what it looks like to me. If its completely turned on itself, I stir it up. Some will go through stages (sorry I don't have pics of this, yet) separation stage, applesauce stage, mash potato stage, and then Vaseline/waxy stage. You are done when your soap is waxy and shiny, looks like Vaseline. Then you can add your additives and fragrance. With fragrancing, I always let mine cool in the crock til about 140 degrees F. This will keep, especially your essential oils, from "heating off". Plus you won't need to use as much to fragrance. Once that's all done, mold it up!

I use an ice tray bin I found cheap at WalMart, its dishwasher safe so I knew it could withstand the heat of hot soap. Fill in layers and bang the mold on the counter to get the air bubbles out (anger management, right?), then cover with plastic wrap. I have the plastic wrap over the container to take the pic, but don't leave it like this because the steam will cause water droplets to fall from the plastic wrap onto your soap. I slide the plastic wrap down over the soap, and if I want a smoother top, I use the plastic wrap to do that, but if I want a wave-like-fluff on top, I just get the plastic wrap as close as possible to it without mashing my work down. All this does is allow your soap to cool evenly. You could leave it uncovered, it will just make the top cool quicker and give it a lighter color and sometimes, more brittle than the rest of your soap. Not a big deal, its what you preference.
Let it stand til its completely cool. I like to let mine sit overnight, if I think I can cut it the next day :) Just check on it.
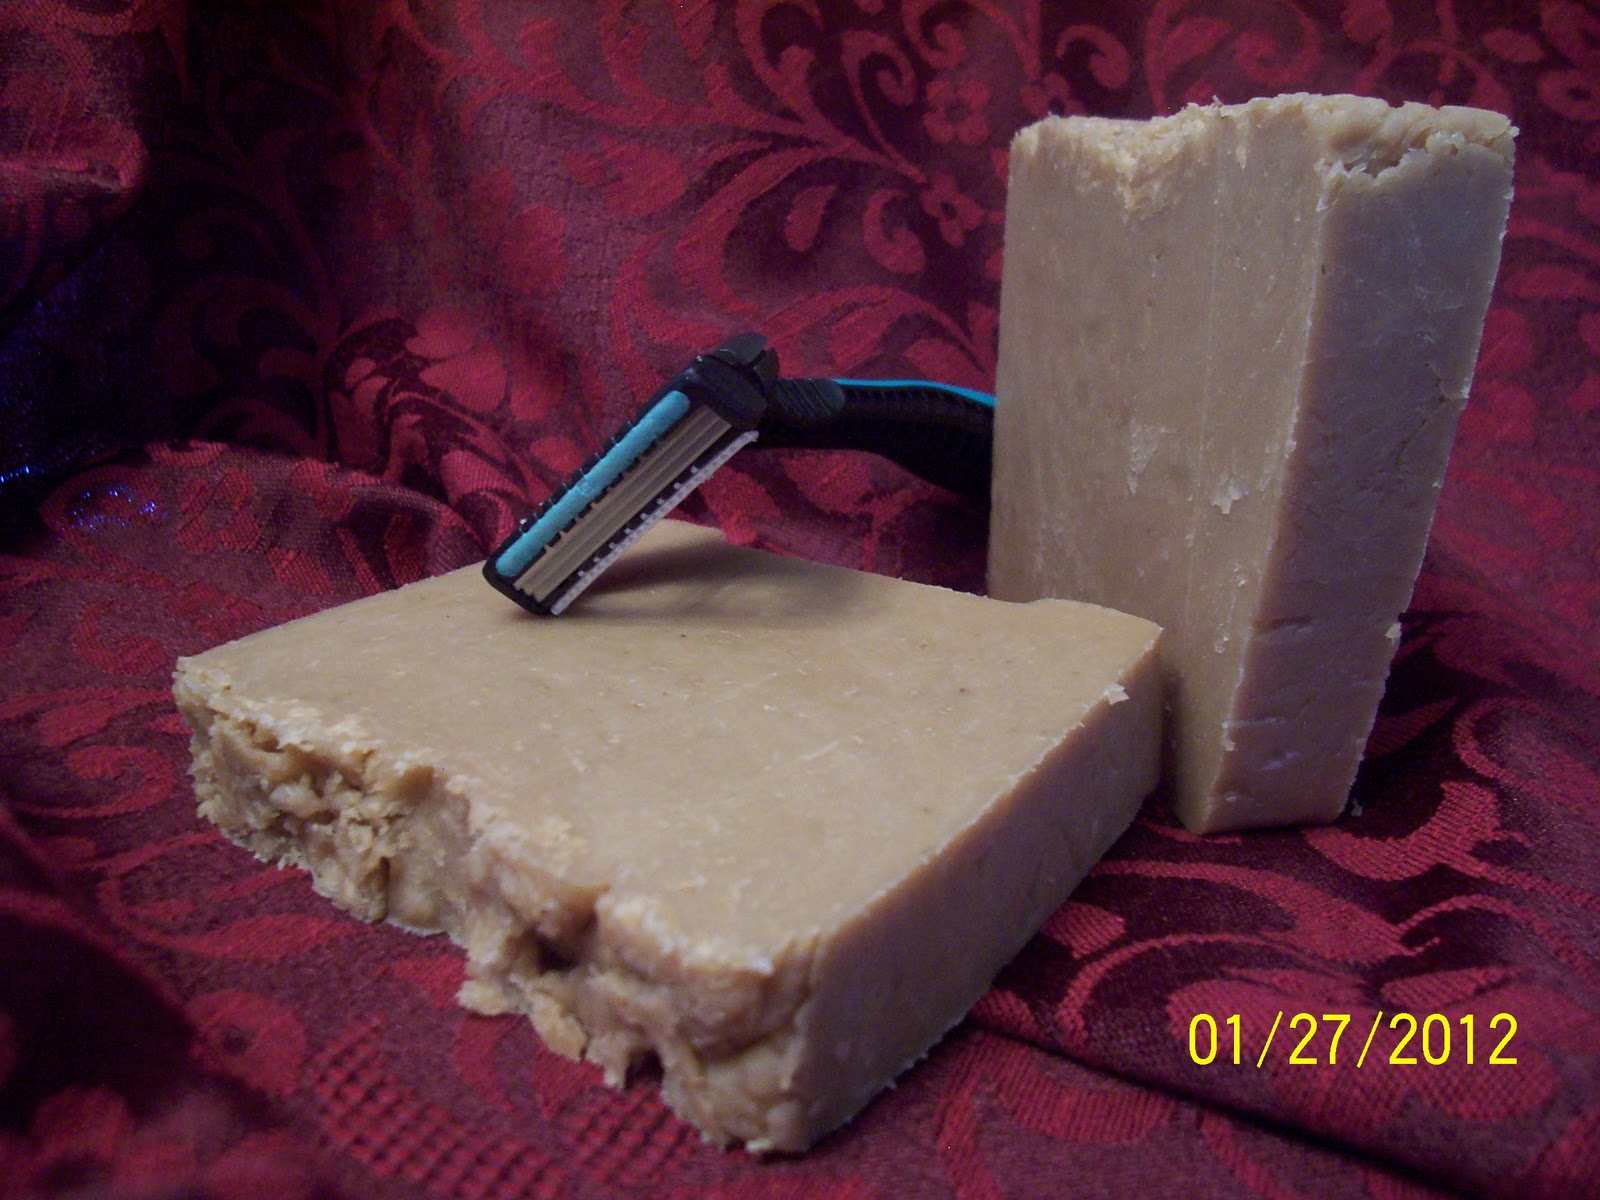
Cut soap:
I let them dry out about a week before storing, sometimes longer if they still feel moist. I didn't have to add any fragrance to this because it smells naturally sweet. I did add honey after the cook, so with that and the beeswax, it smells honeylicious. :)
Now start soaping! :)